Download Keyframe Animation for SketchUp
Keyframe Animation 2.5
Bring your SketchUp model to life with objects that move by translation, rotation, scale, and reflection. Combine the object animation with SketchUp's Camera, Layer, Section Plane, Shadow, and Style animation. Then export it all to a video.
Keyframe Animation 2.5
- Extension
- Keyframe Animation
- Version
- 2.5.0
- Release Date
- March 28, 2023
- Size
- 3.5 MB
- Compatibility
- SketchUp 2016+
- Free Trial
- 10 days
New in version 2.5
- Fixed a compatibility issue with SketchUp 2023. Keyframe Animation 2.5.0 now supports all versions of SketchUp from 2016 to 2023.
- Removed dependence on a method that was deprecated in 2021.
New in version 2.4
- Fixed a bug that could cause subtle variations in the frame rate of a video exported from the tweens. Now each tween corresponds to exactly one frame in an exported video.
- Raised the max frame rate for tweens to 120 fps.
- As of version 2.4.2, the applications that can batch render the tweens include:
- Enscape
- V-Ray
- Twilight
- Shaderlight
- Thea
New in version 2.3
- Fixed a bug that affected Layer Visibility when exporting a video. The layers toggled on and off at the END of the scene transition. Now, when you export a video, the layers toggle at the START of the scene transition, just like they do in the SketchUp scene animation.
- Optimized the video export. It creates the images for the scene delay phase more quickly.
New in version 2.2
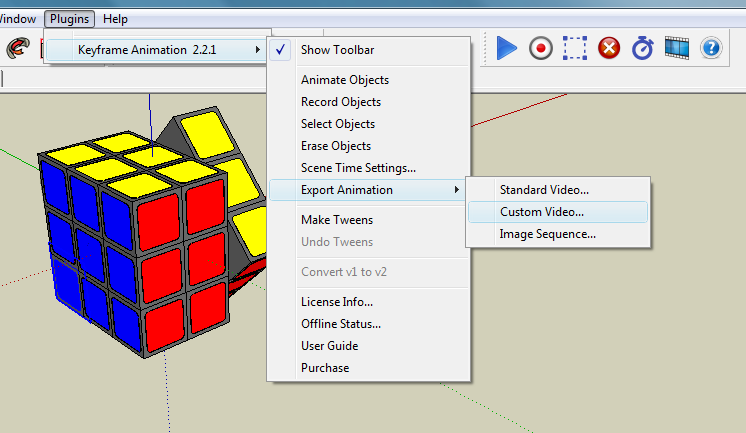
There are two ways to export the object animation to a video:
- You can generate a tweens model with the object animation "bake-in". The tweens are more functional, they play nice with ALL the SketchUp scene properties. The tweens can be rendered by some third-party apps, like Vray, Shaderlight, and Twilight.
- You can also export the object animation to a video, animated GIF, or image sequence, directly from the keyframe model. This alternative approach is fast, simple, and more efficient than creating the resource intensive tweens.
Plugin Installation
The plugin is downloaded as a Ruby zipped (.rbz) file.
Note that the Microsoft Edge browser unzips the
.rbz file when it downloads it.
You end up with the individual files and folders that make up the plugin.
That's not what you want (unless you know how to install them manually).
We recommend you use the Google Chrome browser.
It will download a single .rbz file.
If you are using SketchUp 2017+, follow these instructions:
- In SketchUp, select Window > Extension Manager. The Extension Manager window appears.
- Click the Install Extension button.
- In the Open dialog box that appears, locate the Ruby zipped (
.rbz) file saved to your computer, and click OK (Microsoft Windows) or Open (Mac OS X). - If SketchUp warns you about installing only extensions from trusted sources, click Yes. The plugin appears in the list of extensions.
- Close and restart SketchUp. You should see the new toolbar buttons and menu items.
If you are using SketchUp 2016, follow these instructions:
- In SketchUp, select Window > Preferences (Microsoft Windows) or SketchUp > Preferences (Mac OS X). The Preferences window appears.
- Click on Extensions. The Extensions panel is displayed.
- Click the Install Extension button.
- In the Open dialog box that appears, locate the Ruby zipped (
.rbz) file saved to your computer, and click OK (Microsoft Windows) or Open (Mac OS X). - If SketchUp warns you about installing only extensions from trusted sources, click Yes. The plugin appears in the list of extensions.
- Close and restart SketchUp. You should see the new toolbar buttons and menu items.